
RNA extraction can look deceptively simple: lyse the sample, separate its phases, and recover the RNA. In practice, the quality of the result depends on small choices, from rapid sample disruption to careful pipetting near the interface. Trizol combines phenol and guanidinium salts to disrupt cells and help protect RNA from degradation. The steps are clear. The technique takes practice.
Thermo Fisher Scientific’s TRIzol Reagent protocol gives practical starting ratios: 1 mL of reagent for 50–100 mg of tissue, or roughly 5–10 million cultured cells. These are protocol recommendations, not guarantees; sample type and handling can change yield and purity. In their foundational 1987 Analytical Biochemistry paper, RNA-isolation researchers Piotr Chomczynski and Nicoletta Sacchi wrote, “A new single-step method for RNA isolation by acid guanidinium thiocyanate-phenol-chloroform extraction is described.” Their work established the method behind this widely used reagent. Small details matter.
This guide explains how to use Trizol from sample preparation through RNA precipitation and washing. It also covers the visible cues that can prevent common mistakes, such as disturbing the interphase during transfer. A clean phase boundary is helpful, but it is not proof of RNA quality. Even experienced researchers can lose material or carry contaminants into the aqueous phase. That is worth remembering. Careful technique, appropriate controls, and downstream quality checks make the workflow more dependable.
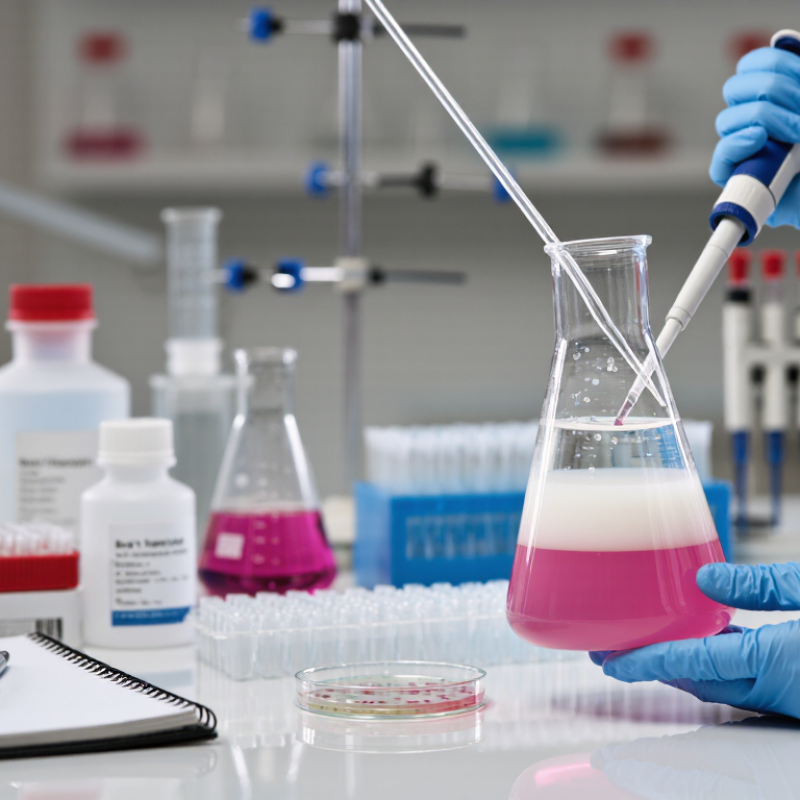
An acid guanidinium-phenol reagent combines phenol, a chaotropic salt, and an acidic buffer. Each component has a role. Guanidinium thiocyanate disrupts cells and denatures proteins, including RNases that can quickly damage RNA. Phenol helps separate cellular molecules, while the acidic conditions favor RNA entering the aqueous phase after chloroform is added and the mixture is centrifuged.
The cloudy sample forms distinct layers. RNA is mainly in the upper aqueous layer; DNA and proteins are concentrated elsewhere, though separation is not perfect. Carefully transfer the upper layer without touching the interphase. Then precipitate the RNA with alcohol, wash the pellet, and dissolve it in RNase-free water. A small, invisible pellet is easy to lose. I would not assume a clear-looking extract is pure; absorbance checks or downstream controls can reveal carryover.
Tips: Work in a fume hood and wear suitable protective equipment, since phenol and chloroform are hazardous. Use clean, RNase-free tubes and pipette tips. Keep the phase boundary steady when collecting the aqueous layer. If the interface gets disturbed, pause and reassess rather than forcing the transfer.

Prepare fresh tissue on ice, or keep frozen samples below freezing until lysis. Work quickly; thawing can activate RNases and compromise RNA quality. Trim away excess fat or connective tissue with clean, RNase-free tools. Cut the sample into small pieces so the lysis reagent can reach the material evenly. In practice, this step is easy to rush. It matters.
Tips: Homogenize until no visible fragments remain, but avoid splashing or foaming. Keep the tube closed when possible. Clean the probe between samples, and change gloves if they touch non-clean surfaces. Use the reagent’s stated sample-to-volume ratio; too much tissue can leave the lysate viscous and difficult to clarify.
The ENCODE consortium’s bulk RNA-sequencing standards use a RNA Integrity Number above 7 as a typical sample-quality threshold. That is a useful reference, not a guarantee: tissue type and handling also affect integrity. Record the sample source, storage conditions, homogenization method, and any visible clumping. If the lysate looks uneven, pause and check whether the tissue was fully disrupted before proceeding.
| Sample Type | Typical Starting Amount | Preparation and Homogenization | Practical Check |
|---|---|---|---|
| Soft animal tissue | About 50–100 mg per 1 mL of reagent | Keep the sample cold before processing. Mince it into small pieces, then homogenize thoroughly in the reagent using an RNase-clean tool. | The lysate should be uniform, with no visible tissue fragments. |
| Fibrous or connective tissue | Start with a small piece, typically no more than about 50–100 mg per 1 mL | Chop finely and homogenize until the tissue is fully disrupted. Reduce the sample amount if the lysate remains stringy or difficult to mix. | Avoid overloading; incomplete disruption can lower RNA recovery and consistency. |
| Plant tissue | Use a modest amount relative to reagent volume; adjust for tissue density and composition | Freeze the tissue, grind it to a fine powder while cold, and transfer the powder promptly into the reagent for mixing. | Polysaccharide- or phenolic-rich tissues may require a plant-specific protocol. |
| Adherent cultured cells | Approximately 1 mL per 10 cm² of culture surface | Remove the growth medium, rinse if appropriate for the experiment, and add reagent directly to the culture surface. Pipette or scrape to disperse the lysate. | Ensure the entire surface is covered and cells are fully lysed. |
| Cell suspension or microbial pellet | Use a small, well-drained pellet and sufficient reagent to disperse it completely | Remove excess liquid before adding reagent. Resuspend and homogenize thoroughly; mechanically disrupt organisms with resistant cell walls as needed. | Use a validated organism-specific method when cell walls or capsules impede lysis. |
| Good practice: Use RNase-clean equipment, process samples promptly, and keep tissue cold until lysis. These starting amounts are general guidelines; optimize the sample-to-reagent ratio for the sample and follow the applicable protocol and safety instructions. | |||
Phase separation is the key step in phenol-based RNA extraction. After the sample is homogenized, chloroform is added and the tube is mixed carefully. Follow the validated protocol for reagent volumes and mixing time; small changes can affect the boundary between layers. Work in a chemical fume hood with suitable protective equipment, since the solvents are hazardous.
After centrifugation, the mixture separates into visible layers. The clear upper aqueous phase contains most of the RNA. The thin interface often holds DNA and cell debris, while the lower organic phase contains much of the protein and lipid material. The boundary can look soft, not perfectly sharp. That detail matters.
Transfer the aqueous layer slowly into a clean tube, leaving a small amount behind rather than risking the interface. A few drops may seem wasteful. Carrying over material from the boundary, however, can reduce purity and complicate later measurements. Keep the pipette tip near the surface, and avoid scraping the tube wall. If the layers look cloudy or poorly separated, pause and review the sample handling and centrifugation conditions before proceeding. Record any unusual appearance; it can help explain inconsistent RNA yield later.
After phase separation, transfer the clear upper aqueous layer without disturbing the pale interface. Leave a little liquid behind if needed; carrying over interface material can compromise RNA purity. Add the protocol-specified volume of isopropanol, mix gently, and allow precipitation for the recommended time. Then centrifuge under the conditions specified for your sample and reagent volume. The RNA pellet may be tiny or nearly invisible. Mark the tube’s hinge side before spinning so you know where to look.
Remove the supernatant carefully, then rinse the pellet with 75% ethanol, directing the wash against the tube wall. Invert or gently flick the tube; harsh mixing can loosen the pellet. Centrifuge again and remove the ethanol with a pipette. Let residual alcohol evaporate briefly, but do not let the pellet become hard and glassy. This step can feel deceptively simple. Over-drying often makes resuspension slow. Dissolve the RNA in nuclease-free water, using gentle pipetting and enough time for the pellet to clear. If it remains cloudy, pause and allow more time rather than forcing it. Protocols differ, so follow the validated instructions for your sample type and check RNA quality before downstream work.
RNA quality is more than a clear-looking sample. After extraction, inspect the pellet and solution for signs of contamination, but do not rely on appearance alone. A spectrophotometer can estimate purity: a 260/280 ratio near 2.0 is common for clean RNA, while a low 260/230 ratio may suggest salt or reagent carryover. These values are clues, not a verdict. A clean ratio can still fool you.
For sensitive work, check integrity with gel electrophoresis or a capillary-based system. Intact RNA should show clear ribosomal RNA bands or a strong integrity score; smearing can indicate degradation. Keep tubes cold. Use RNase-free tubes and filtered tips, and wear fresh gloves when handling samples. Small details matter. I would also record sample concentration, purity readings, and any visible issues, even when the results seem ordinary.
Store purified RNA in small, clearly labeled aliquots at −80°C, using an RNase-free solution or a validated storage buffer. Repeated freeze-thaw cycles can damage RNA, so thaw only what the next experiment requires. Keep tubes closed and minimize time on the bench. If a sample must be transported, use an appropriate cold chain and confirm local laboratory procedures. Storage advice can vary with the downstream assay, and that uncertainty is worth checking rather than guessing.